
Retro Twisted Headband
Good morning Saturday! I love Saturdays. They are just lovely. I am here today posting a NON-paper craft project. I need to do more of these, don't you think? So I shall. You will see!
Today, I am sharing with you how I make my retro twisted headbands. I LOVE the way these look as I am all about the retro style. They are super easy to make, too.
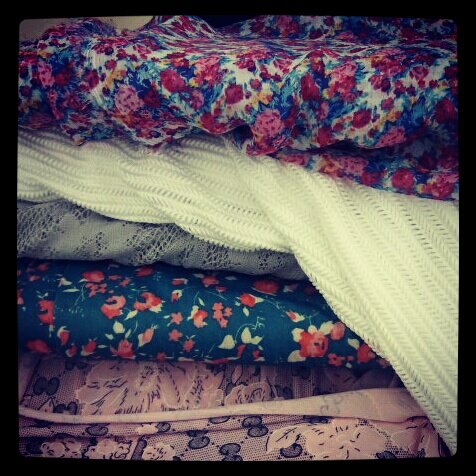
First, you will need to hit up your local fabric shop for some stretchy material. You need to make sure you have some stretch in the fabric so it can fit around your pretty little head. I bought a 1/4 yard of each fabric I bought, which was plenty for a headband...plenty enough to make TWO (score).


Today, I am sharing with you how I make my retro twisted headbands. I LOVE the way these look as I am all about the retro style. They are super easy to make, too.
First, you will need to hit up your local fabric shop for some stretchy material. You need to make sure you have some stretch in the fabric so it can fit around your pretty little head. I bought a 1/4 yard of each fabric I bought, which was plenty for a headband...plenty enough to make TWO (score).
First, lay out your fabric on a table and fold it in half.
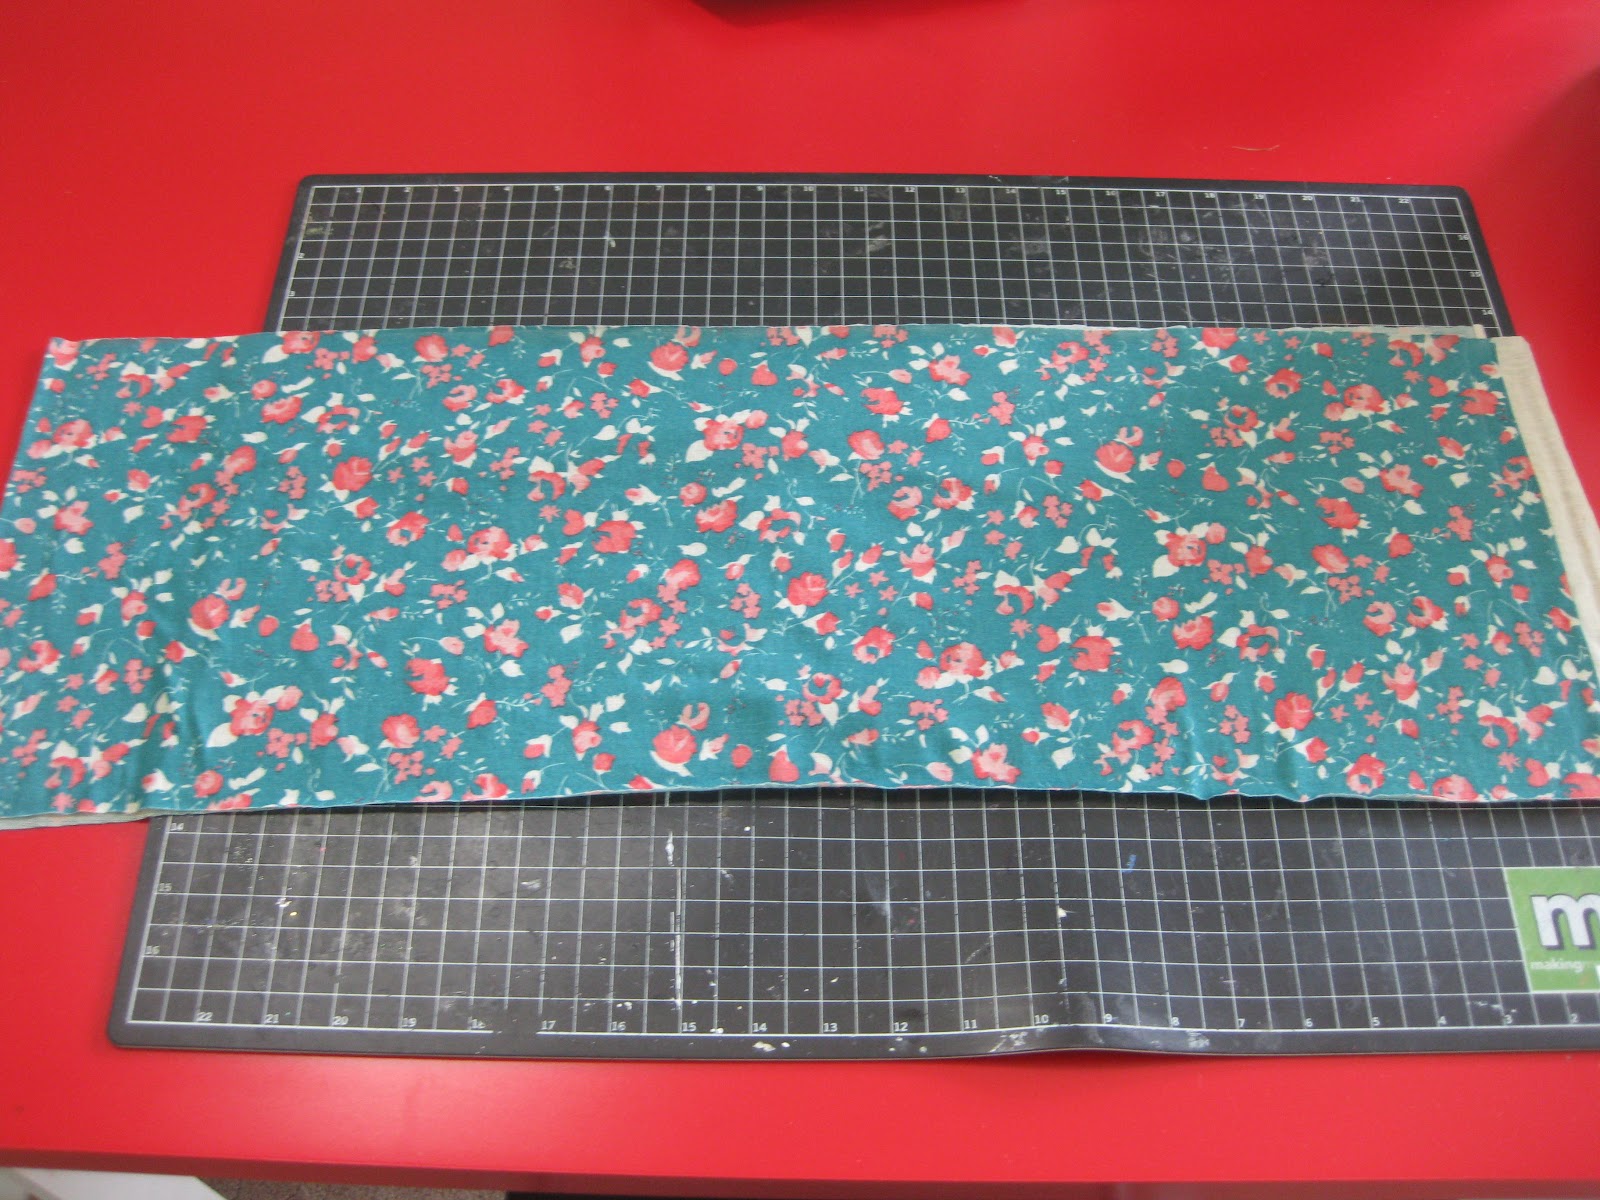
Cut two strips, about 2-3 inches thick, depending on how thick you want your headband.

See how I essentially got 4 strips out of this since I folded the fabric in half? Two headbands! (again...score.)
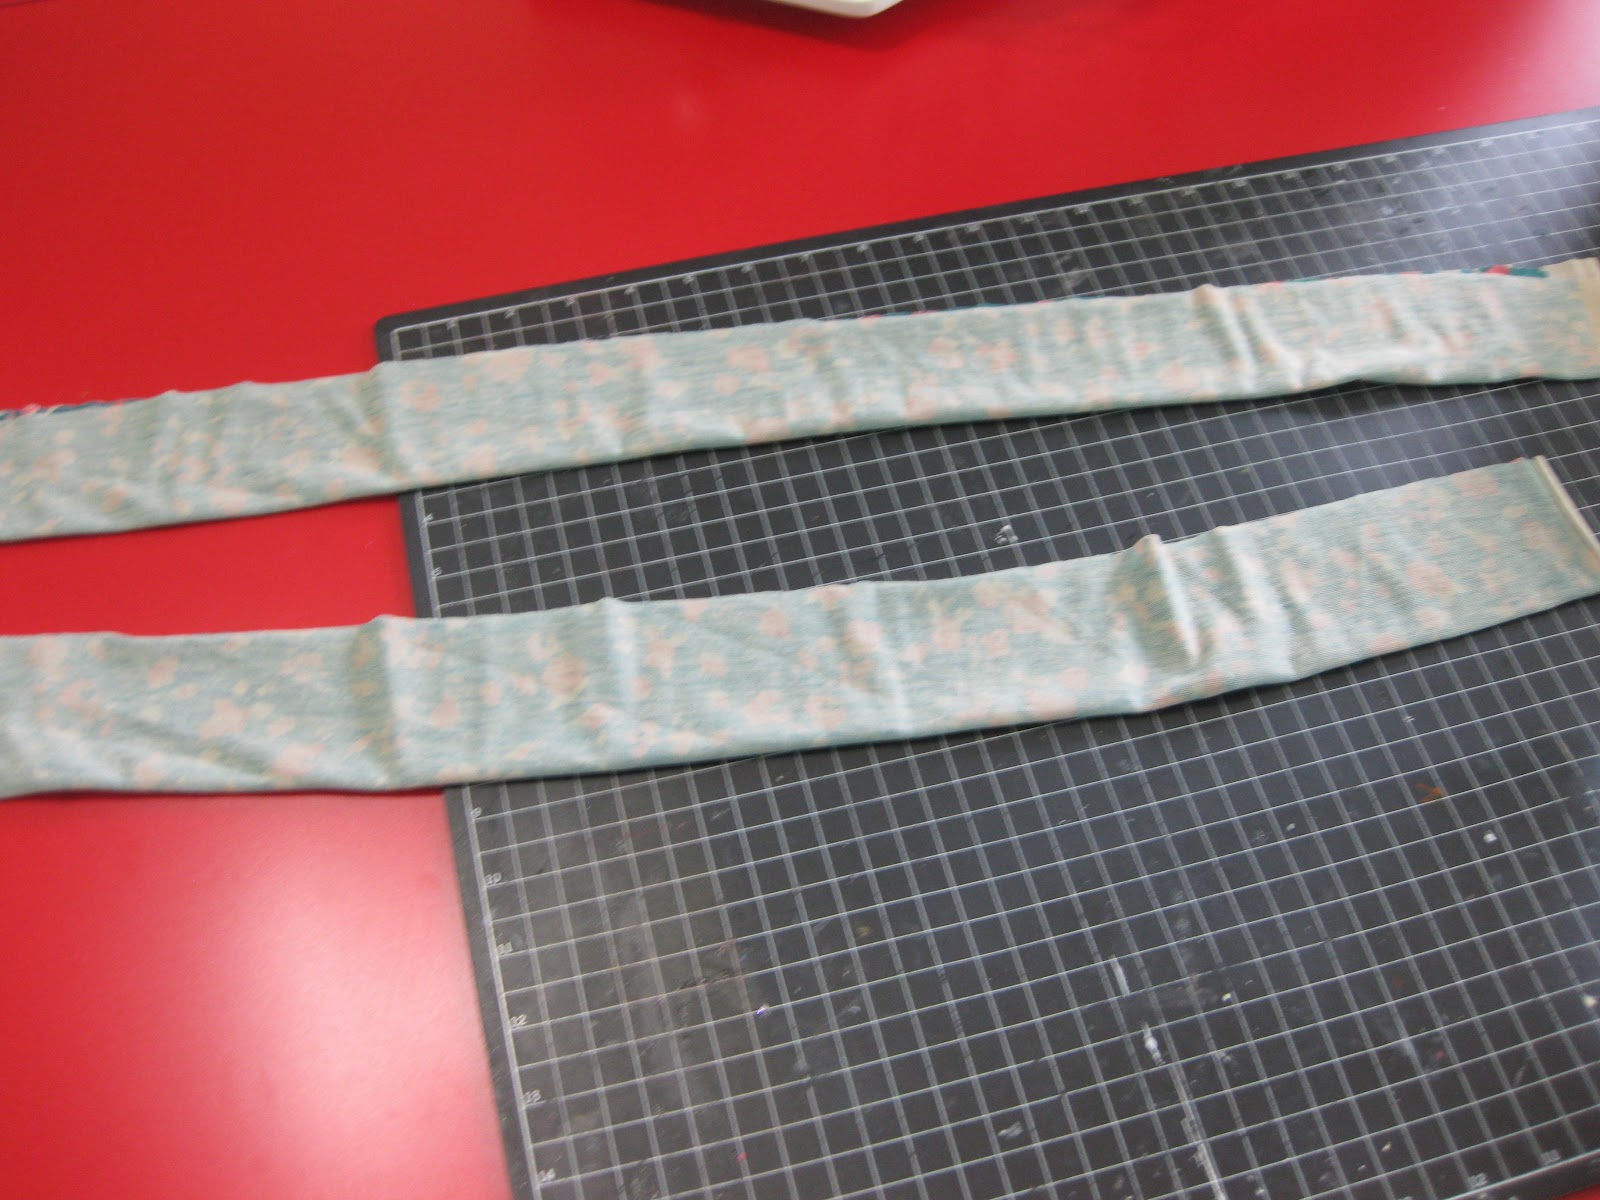
Next, fold and sew each strip together, inside out, creating a long tube.
Do NOT sew the ends yet! Flip them right side out. Lay them criss cross against each other. You can iron them if you are really feeling ambitious. (note: I did not.)
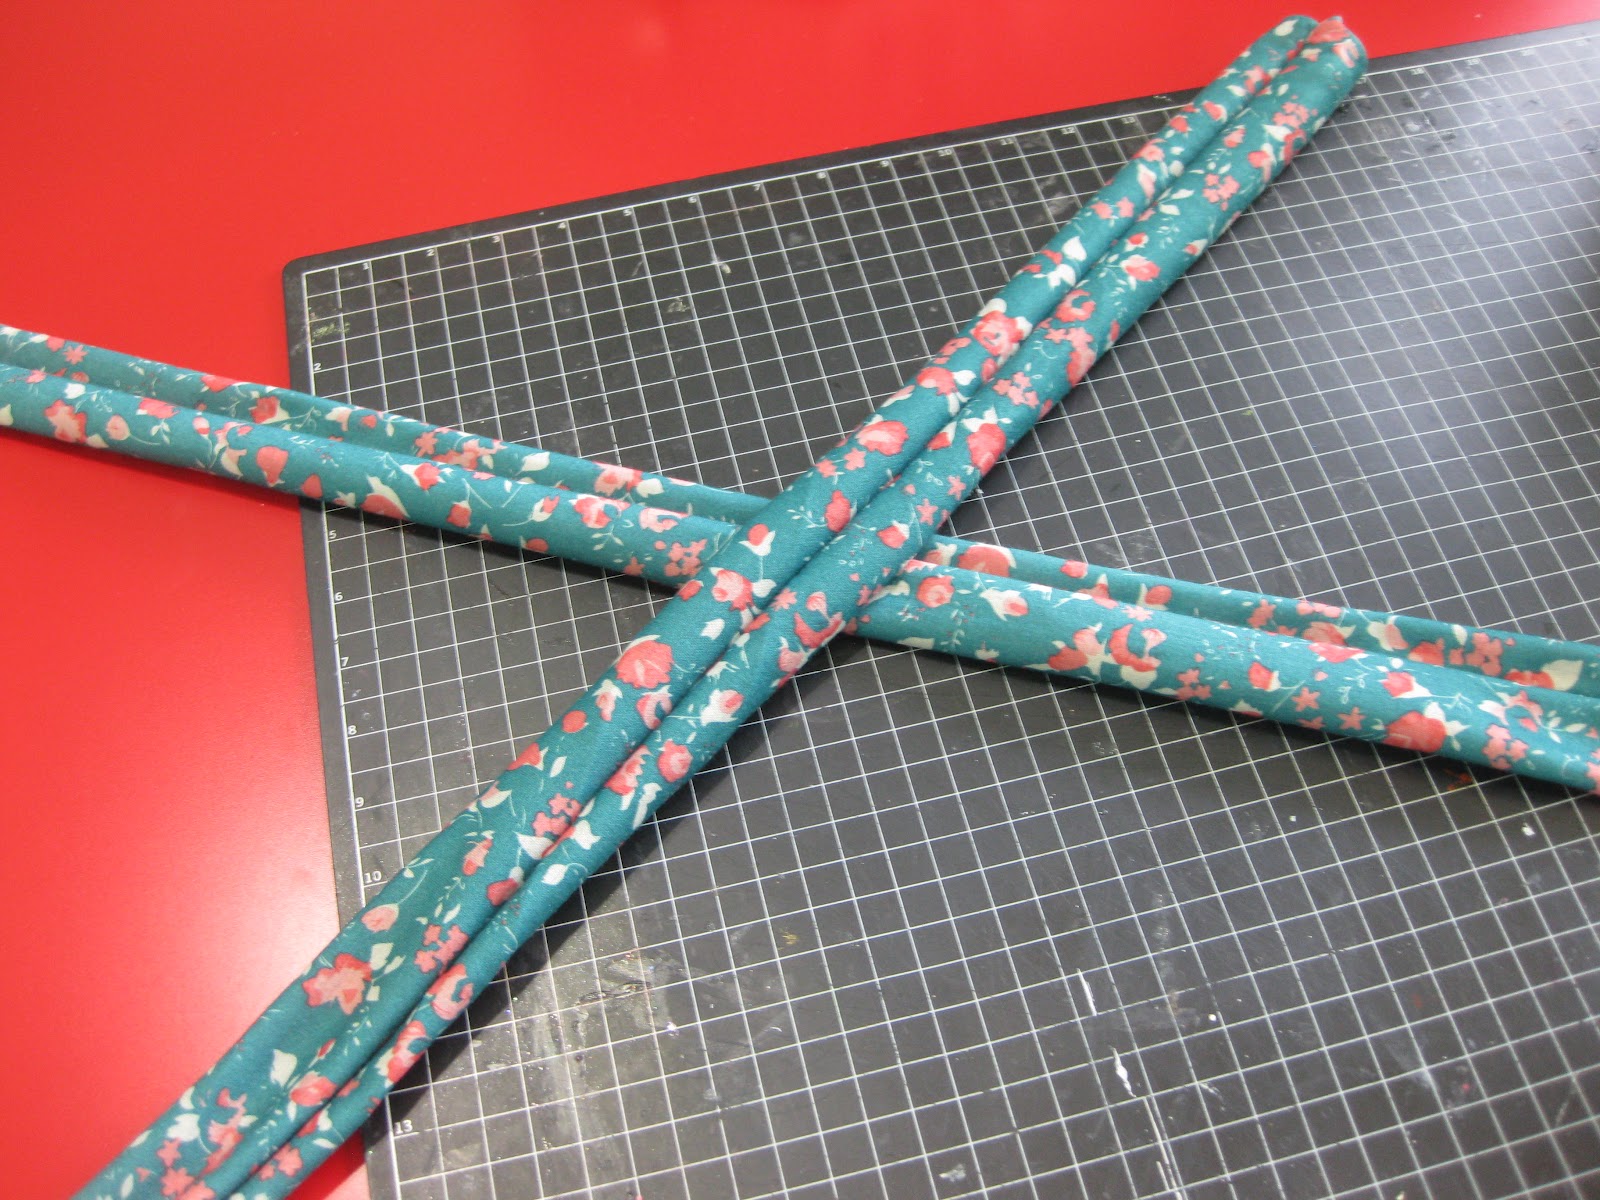
Take the strip that is on the bottom and match end to end. Take the other ends and match them up to create the twist.
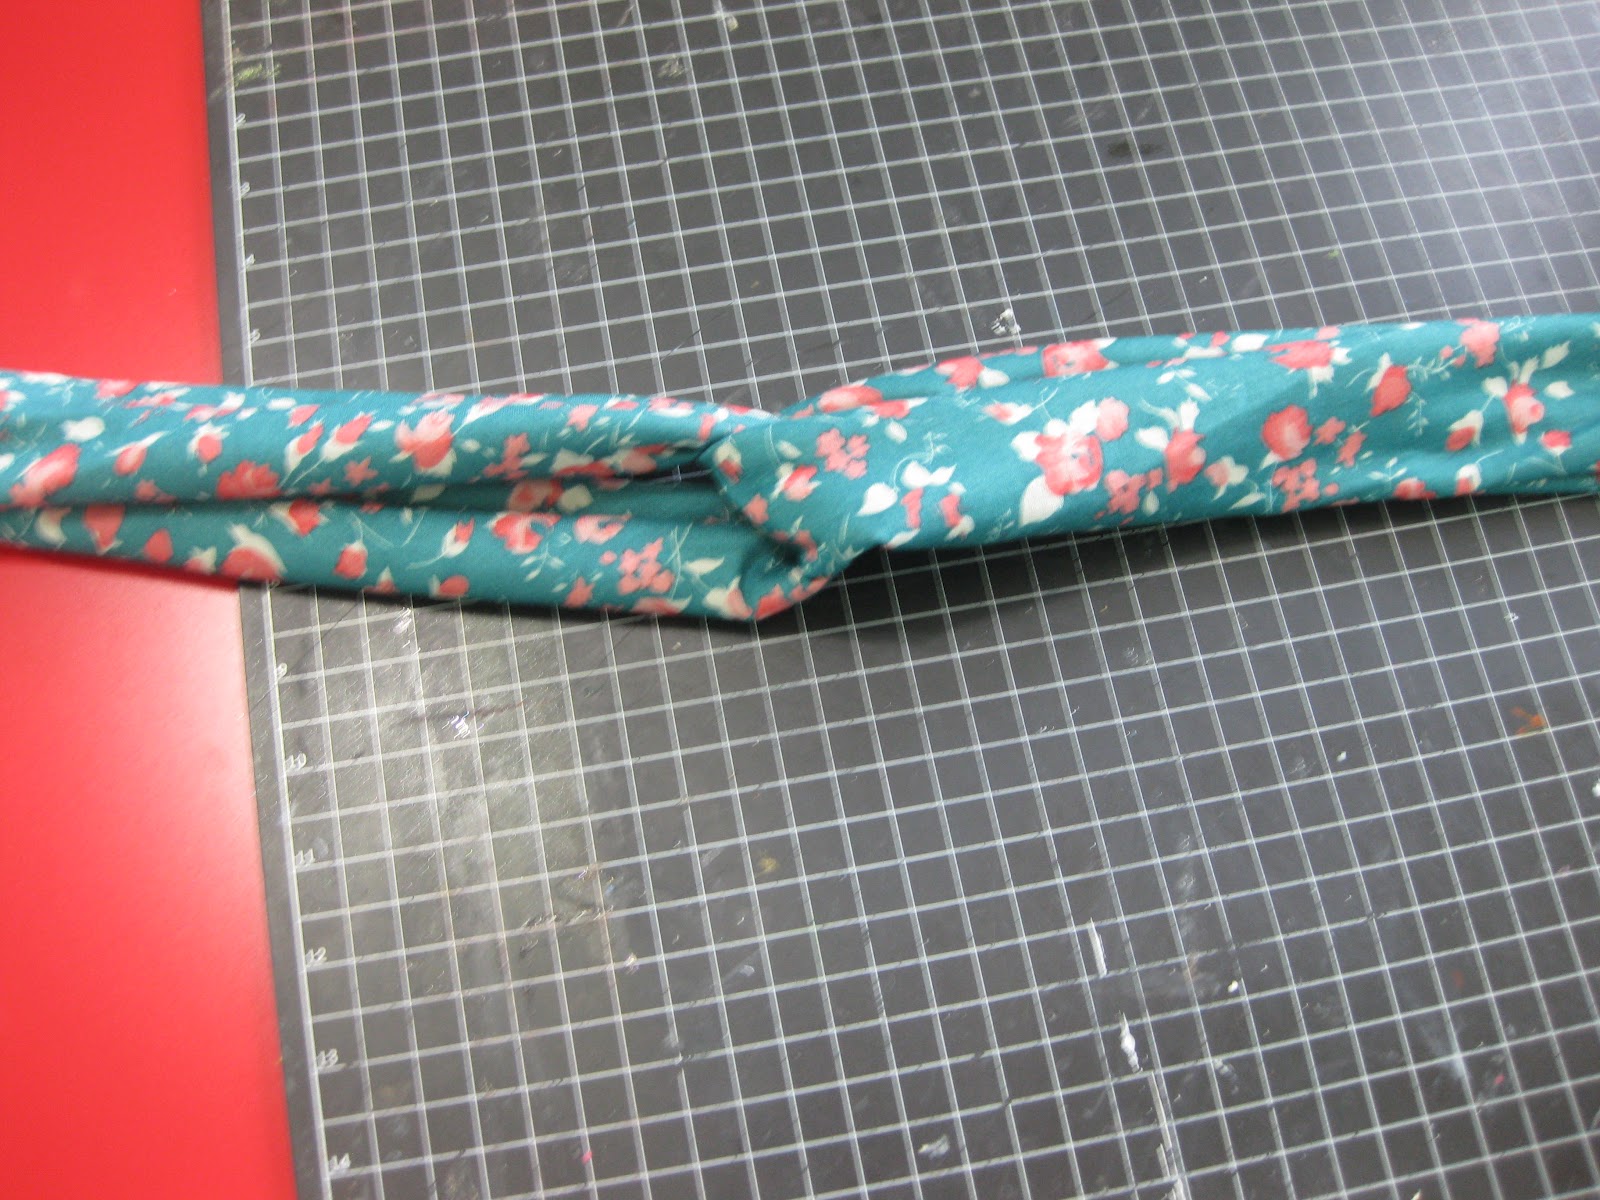
Lastly, take all four ends and sew them together.
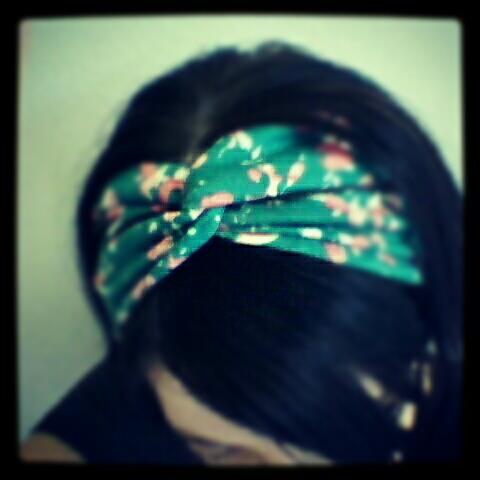
Voila! Cute retro twisted headband.
Just a little side note: my Janome and me aren't the best of friends. But the more we spend some quality time together, the less scary she is to me. This is a very basic craft project that takes minimal sewing efforts, which is right up my alley! Threading the machine, sewing straight lines...practice makes perfect.
And to save the best for last.......
I am giving one of these beauties away!
(Don't worry, it will be a freshly made one, not one that's been on my head haha)
If you want to win it, please just leave a comment on this post and I will pick a random winner on Wednesday, July 25. I would love it if you wanted to follow my lil blog, too!
Have a super fab weekend, friends!
xoxo